
The LightCut app, designed for quick and automatic video editing, integrates seamlessly with DJI drones, allowing you to edit aerial footage directly from your device. Syncing your DJI drone with the LightCut app is simple, and once done, you can access advanced features such as automatic editing, video templates, and more.
Below, we show you step-by-step how to sync your DJI drone with LightCut and start editing videos.
Step 1: Prepare your DJI drone and mobile device
Before syncing your DJI drone with the LightCut app, ensure both devices are ready for connection:
- Update your DJI drone’s firmware: It’s essential to keep your drone’s firmware up-to-date. You can do this from the DJI Fly or DJI GO 4 app, depending on your drone model.
- Ensure sufficient battery life: Make sure both your drone and mobile device have adequate battery levels to avoid interruptions during syncing and editing.
- Install the LightCut app: Download and install the LightCut app from Google Play or the App Store, if you haven’t done so already. You can also find the APK for download HERE.
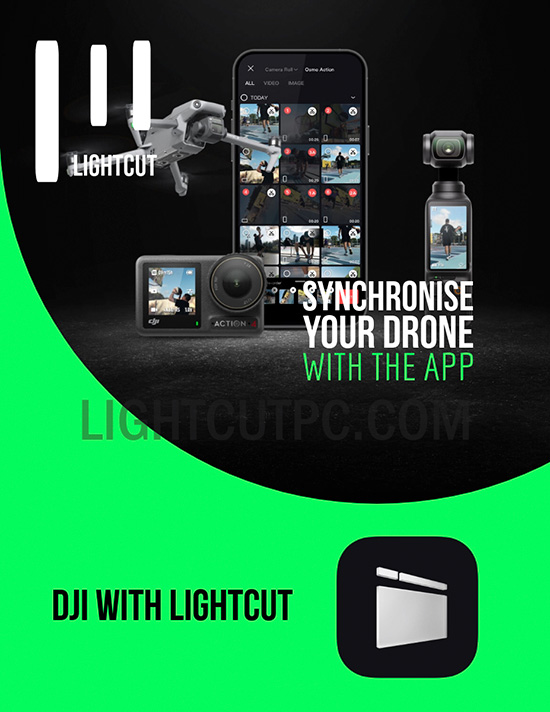
Step 2: Power on your DJI drone and connect the mobile device
With the drone and device prepared, it’s time to sync them and start editing footage:
- Turn on your DJI drone: Press the power button on your drone and wait for it to connect with the remote control or directly with your mobile device.
- Open the LightCut app: On your mobile device, open the LightCut app.
- Connect via WiFi or cable: Depending on your DJI drone model, you can connect it to your mobile device via WiFi (such as with Mavic series drones) or cable (such as with the DJI Air 3). Make sure to follow the specific instructions for your model.
Step 3: Access drone footage in LightCut
Once your DJI drone is connected to your mobile device, follow these steps to access recorded videos and begin editing:
- Select "Connect Device": On the main screen of LightCut, select the Connect Device option. The app will automatically detect your DJI drone.
- Browse your drone’s files: Once the connection is established, you’ll see a list of videos stored on your drone. You can select the clips you want to edit directly from the app without needing to transfer them first.
- Edit with proxies: LightCut uses proxy files for faster editing, meaning you can edit the clips without taking up too much space on your device. Once editing is complete, the video will be exported in high quality.
Step 4: Edit footage directly in LightCut
Now that you have access to the footage recorded by the drone, it’s time to edit it using LightCut’s advanced features:
- One Tap Edit: Use the One Tap Edit option to create a video automatically in seconds. Simply select the clips, and let the app handle the rest.
- Apply templates: LightCut offers various templates you can apply to your video, such as Tilt Shift or Aerial Audio Match, which are ideal for aerial footage.
- Customisation: You can also add music, transitions, text, and other custom effects to give your video a unique touch.
Step 5: Export and share the video
When you’re finished editing, LightCut makes it easy to export your video:
- Select "Export": Once your video is ready, select the Export option in the app.
- Choose the export quality: You can export the video in high quality or in a resolution optimised for social media, such as Instagram or TikTok.
- Share the video: LightCut offers the option to share the video directly from the app to your favourite platforms, such as YouTube, Instagram, or TikTok.
Additional tips
- Keep firmware updated: Always keep both the LightCut app and your drone’s firmware updated to enjoy all the new features and stability improvements.
- Use specific templates: Take advantage of templates designed for aerial footage, like Aerial Audio Match, which optimises sound and visual effects for videos recorded with DJI drones.
With these steps, you now know how to sync your DJI drone with LightCut and start editing high-quality videos quickly and easily. Try all the features and create stunning videos with your drone!
Important Note: As with all software and technology, specific features and steps may vary slightly depending on firmware updates, app version, or the exact model of your DJI drone. It’s recommended to check the official documentation to stay informed on the latest updates and changes.
Leave a Reply
light cut
★★★★★