
If you’re a DJI drone enthusiast or looking for an efficient way to edit videos automatically, DJI Light Cut is the ideal tool for you.
This app, developed by DJI, uses artificial intelligence to simplify the editing process, allowing you to create amazing videos in just minutes.
What is DJI Light Cut?
DJI Light Cut is a specific version of the LightCut video editor, developed to integrate seamlessly with DJI products, such as drones and stabilised cameras.
While LightCut is a general video editor that uses artificial intelligence to create videos automatically, DJI Light Cut is optimised for DJI device users, making it easier to edit videos captured with these devices.
The app leverages DJI drone and camera features, such as aerial recording and proxy file handling directly from the drone, enabling quick edits without downloading large files. Additionally, it includes predefined templates and specific functions, such as Aerial Audio Match and Tilt Shift, designed to enhance videos recorded with drones.
It’s an efficient tool for those looking to create professional videos quickly using DJI products.
DJI Light Cut tutorial
Here’s a step-by-step tutorial to learn how to use DJI Light Cut and get the most out of your drone videos.
Step 1: Download and install DJI Light Cut
To start using DJI Light Cut, follow these steps:
- Download the app: Go to your mobile device’s app store, either Google Play or the App Store, and search for "DJI Light Cut". Download and install the app on your device.
- Connect your DJI device: To make the most of the app, connect your compatible DJI device. DJI Light Cut is designed to work optimally with DJI drones and cameras.
- Log in: Open the app and log in with your DJI account or create a new one if you don’t already have one.
Step 2: Exploring the DJI Light Cut interface
Once you’re logged in, you’ll encounter a simple and intuitive interface.
Here are the key elements you’ll see:
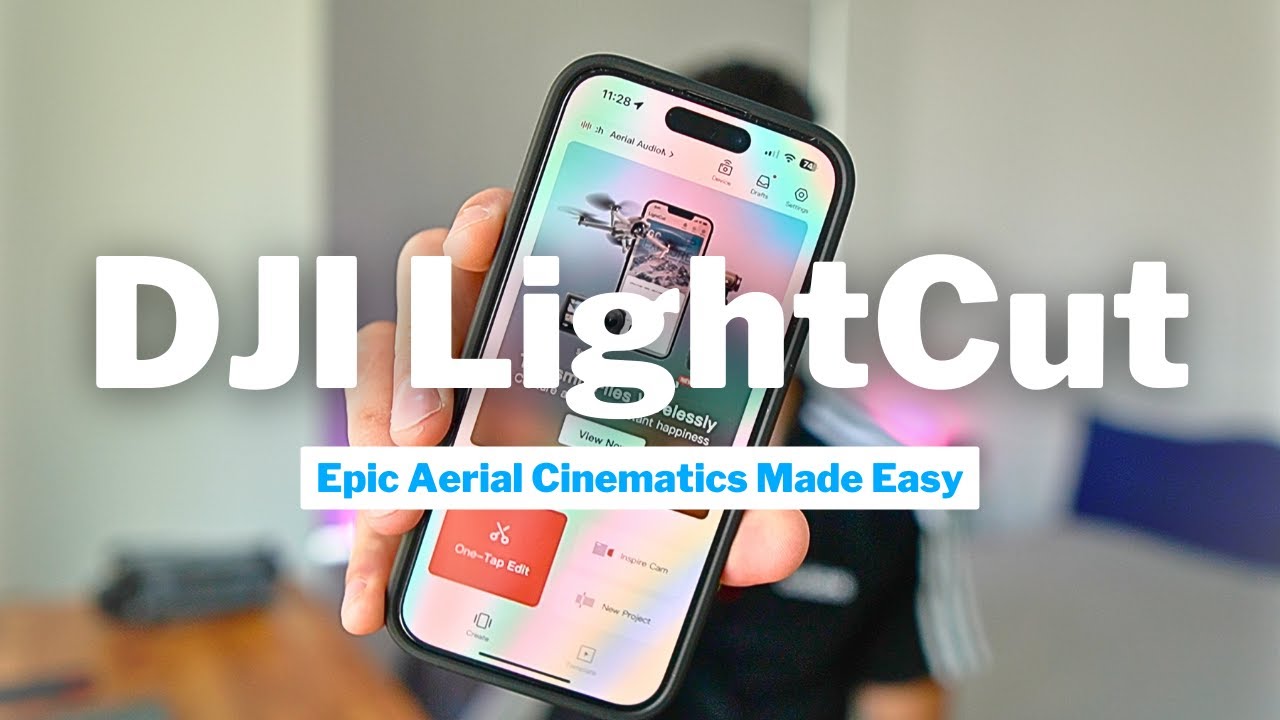
- Settings: Located in the top right corner, where you can configure the app’s general preferences.
- Drafts: This is where projects you’ve been working on are stored in case you want to resume them.
- Templates: In the centre of the screen, you’ll find a variety of templates you can choose from to create videos quickly.
- Editing options: At the bottom of the screen, you’ll see three main options: One Tap Edit, Inspire Cam, and New Project.
Step 3: Create a video with One Tap Edit
One of the main advantages of DJI Light Cut is the One Tap Edit feature, which allows you to create videos automatically with just one tap.
Here’s how to use it:
- Select the One Tap Edit option: On the main screen, tap this option.
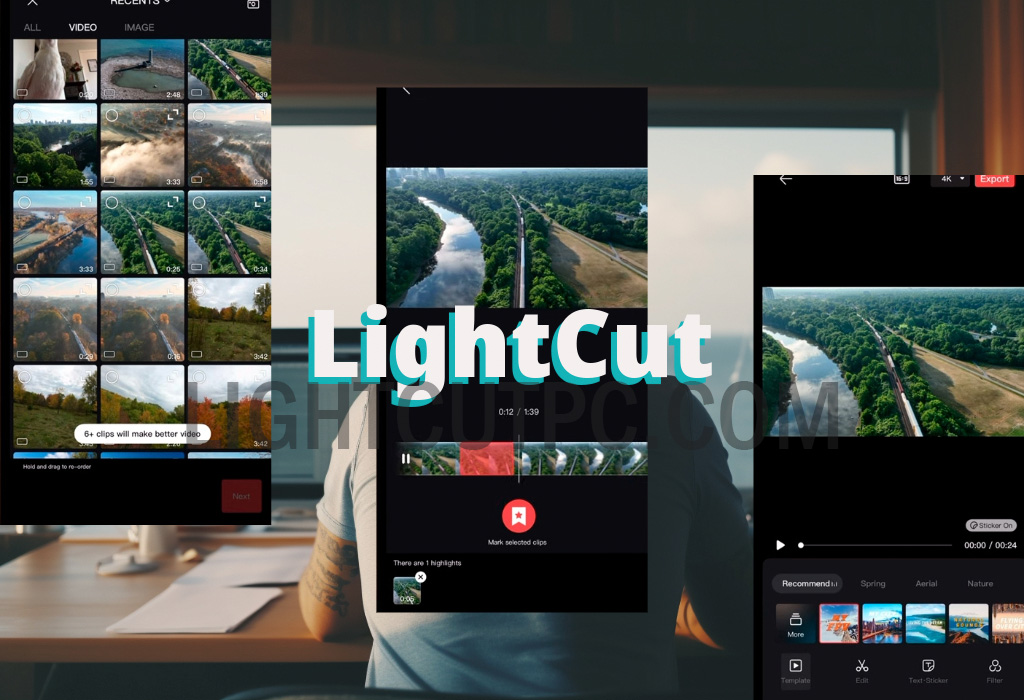
- Choose the footage: Select the video clips you want to include in the video. They can be clips recorded with your DJI drone or videos from your library.
- Generate the video: Once you’ve selected the clips, tap the Next button, and the app will automatically generate a short video with the selected clips.
Step 4: Use Inspire Cam for guided template recording
Inspire Cam is another interesting feature that provides guided templates to help you record videos with a storyboard.
Follow these steps:
- Select Inspire Cam: On the main screen, choose the Inspire Cam option.
- Select a template: Choose a template you like. Each template includes a storyboard that will tell you what shots to make.
- Follow the instructions: The app will show you an example of the final video and guide you step-by-step to record the required shots. It will also provide details like shot type (close-up, medium, long) and recording technique.
- Record the shots: Follow the on-screen instructions and record the shots directly from the app.
Step 5: Apply effects with predefined templates
DJI Light Cut has various templates that include predefined effects. For example, the Tilt Shift effect creates a blur in the top and bottom areas of the image to give a miniature effect.
To use it:
- Select the Tilt Shift template: On the main screen, find the Tilt Shift template and tap it.
- Connect your drone: To edit drone footage, make sure it’s connected to the app.
- Apply the effect: Select the clips and let the app apply the blur effect automatically. You can adjust the title, music, and other details.
Step 6: Edit drone videos with Aerial Audio Match
Aerial Audio Match is a feature designed specifically to enhance the sound in drone videos.
Follow these steps to use it:
- Connect your DJI drone: Ensure the drone is connected to access this feature.
- Select the clips: Choose the clips recorded with the drone and select the Aerial Audio Match option.
- Let the app work: The app will automatically enhance the video’s sound, adapting audio effects to the landscapes you’ve filmed (forests, seas, fields, etc.).
Step 7: Advanced customisation
If you want to take your edits a step further, DJI Light Cut allows you to customise additional details:
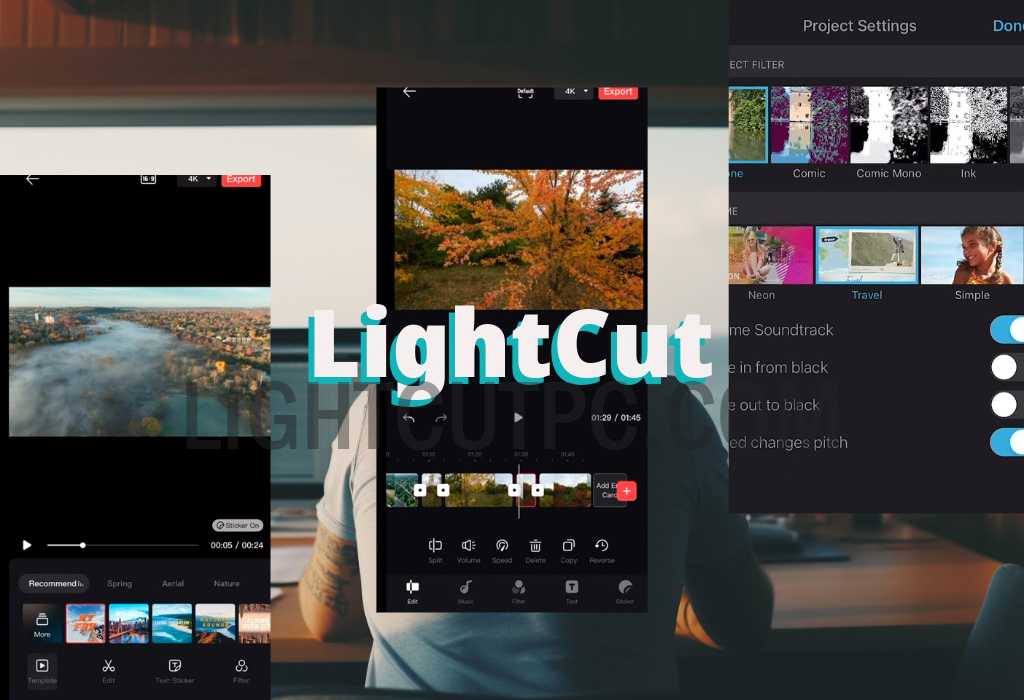
- Change music and effects: You can add music, sound effects, filters, and stickers.
- Edit footage: Adjust volume, speed, reverse clips, or change each shot’s duration.
- Recover colour profiles: If you record with a flat colour profile like D-Log, DJI Light Cut lets you recover colours automatically using the Colour Recovery option.
DJI Light Cut is an effective tool for those who want to create high-quality videos quickly and easily.
Whether you use predefined templates or prefer a more personalised approach, this app offers everything you need to make the video editing process smooth and efficient.
- What is DJI Light Cut?
-
DJI Light Cut tutorial
- Step 1: Download and install DJI Light Cut
- Step 2: Exploring the DJI Light Cut interface
- Step 3: Create a video with One Tap Edit
- Step 4: Use Inspire Cam for guided template recording
- Step 5: Apply effects with predefined templates
- Step 6: Edit drone videos with Aerial Audio Match
- Step 7: Advanced customisation
Leave a Reply